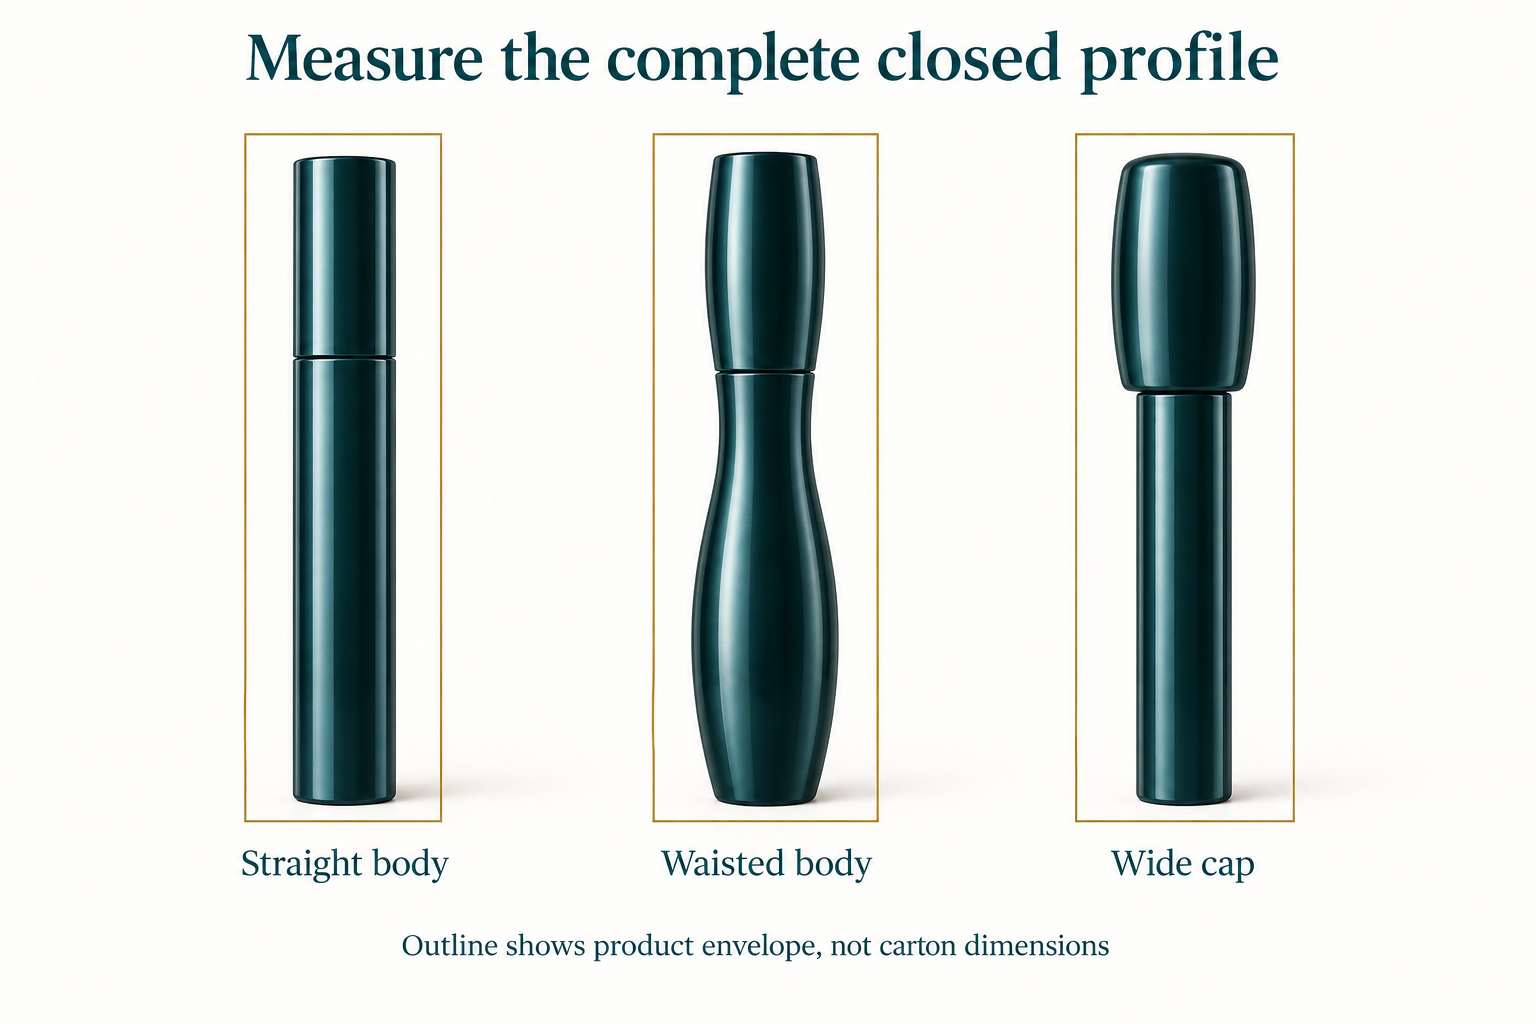
Choose a facial-cleanser carton by measuring the exact closed bottle or tube and mapping how it stands, loads and opens. Bottles usually rely on a base and may include pumps, discs or flip-top caps; tubes can taper, flex and use a cap as their standing surface. Those differences change the maximum envelope, contact zones, orientation and removal path. A nominal fill such as 100 ml does not identify a carton size.
This facial cleanser packaging guide compares bottles and tubes without assuming that either needs a carton or insert in every project. The brief should explain why secondary packaging is required and what the structure must accomplish.
Start with the final closed primary package
Record supplier reference, fill, closure, seal, label and decoration. Measure with a pump locked or overcap fitted and a tube cap fully closed. Include crimps, shoulders, actuator projections and label overlaps.
Aptar’s Hero airless system is available in bottle and tube versions, illustrating that the same product family can create distinct external geometries. Use the actual component rather than a category assumption.
Compare bottle and tube inputs
| Input | Bottle | Tube |
|---|---|---|
| Maximum height | Base to locked pump or closed cap | Cap/base to sealed crimp |
| Horizontal envelope | Body, label, collar and actuator | Filled body, shoulder, cap and side seam |
| Stable end | Usually formed base | Often cap, but verify intended orientation |
| Sensitive zone | Pump, flip top or decoration | Crimp, flexible panel, cap hinge or seal |
| Variation | Component and filling tolerances | Fill distribution and flexible-body profile |
Measure a cleanser bottle without loading the closure
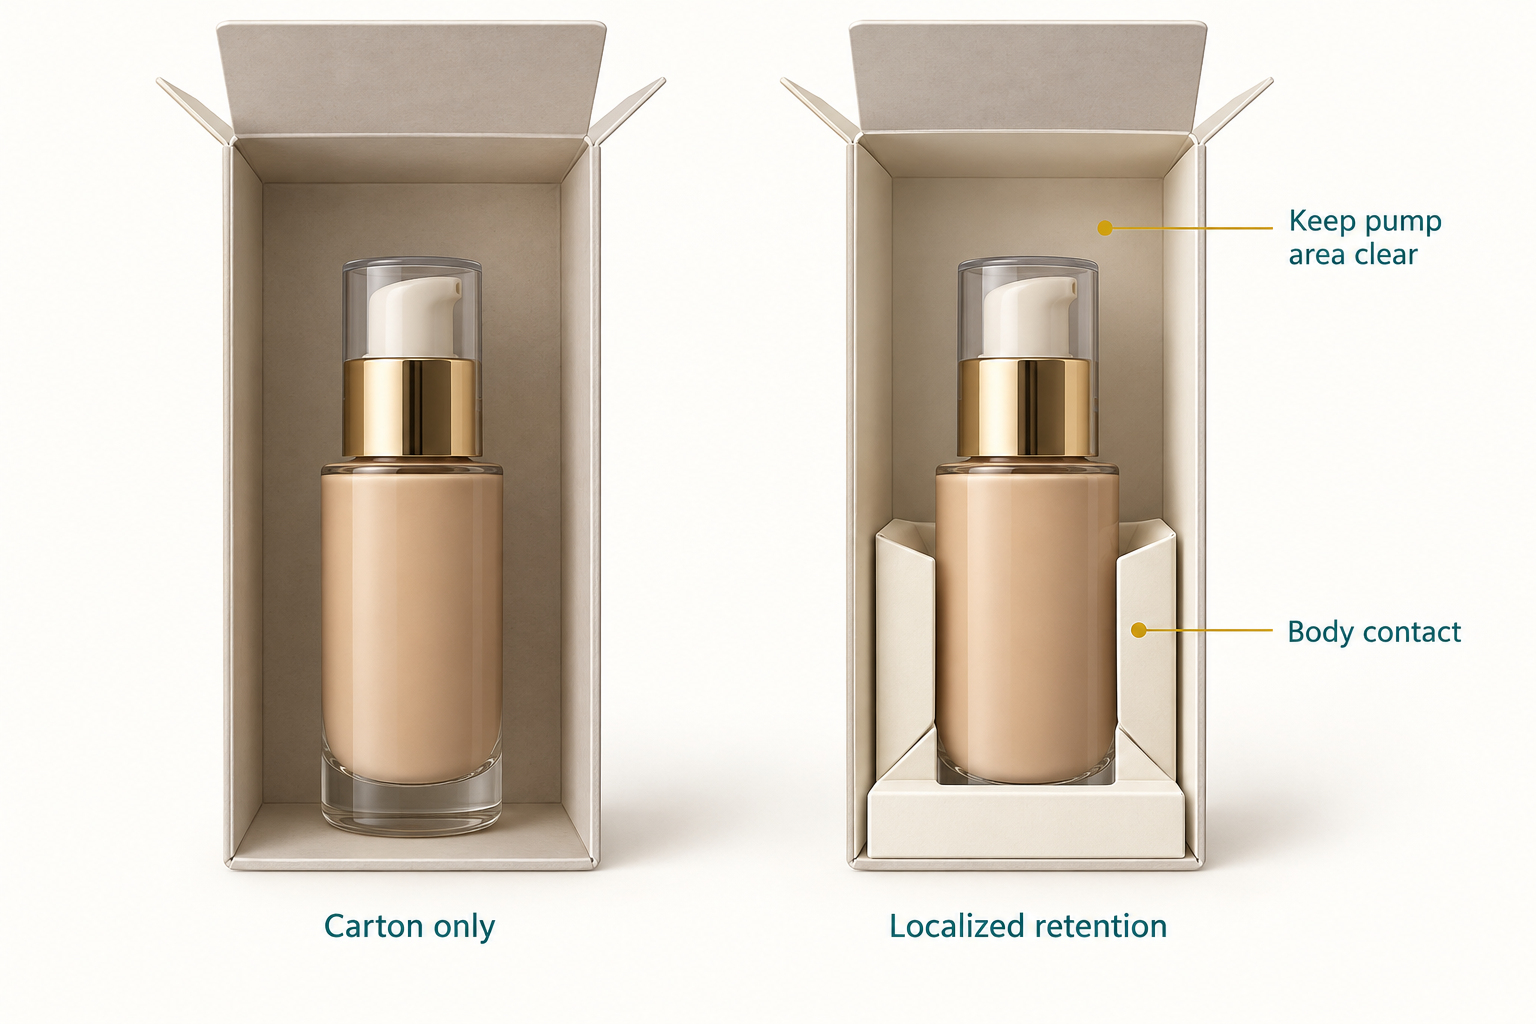
Record maximum width, depth and height, filled weight and base footprint. Photograph pump or flip-top orientation. Do not compress an actuator or depend on the carton to keep a cap closed unless that function is explicitly approved and evaluated.
Watch inner flaps during loading. They can catch a pump neck or flip-top projection even when final internal dimensions appear adequate.
Measure a filled tube in its natural profile
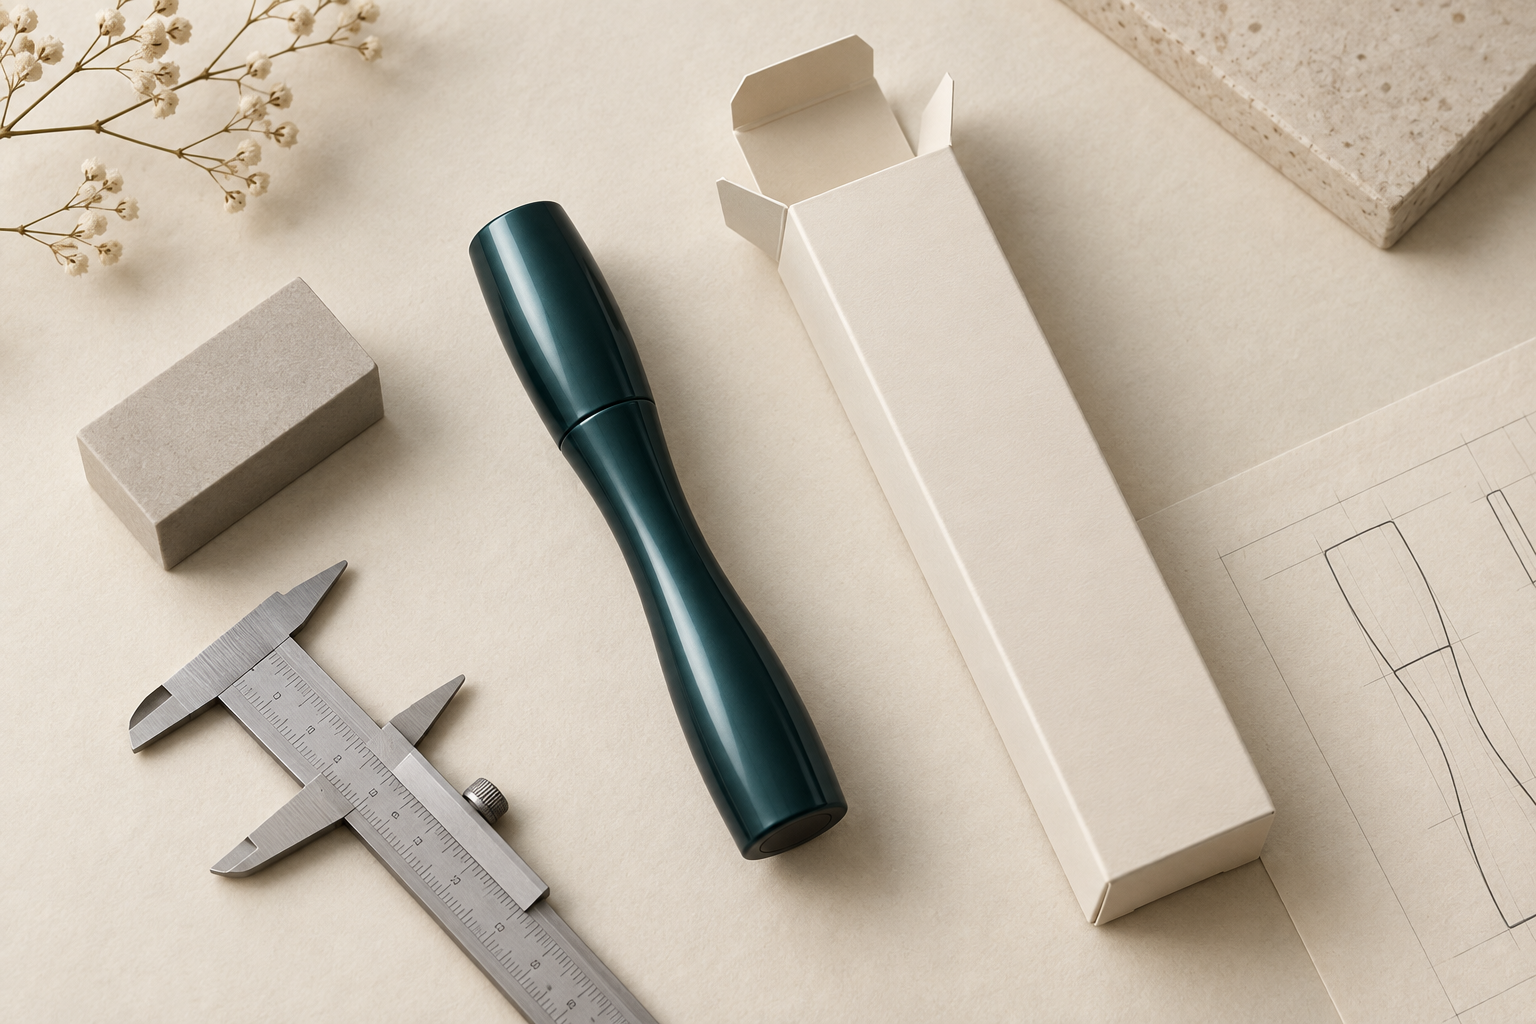
Use a production-intent filled tube. Measure the widest filled body without flattening it, the maximum cap or shoulder profile, and the full height to the sealed crimp. Note whether the crimp is straight, rounded or includes a hanging feature.
A flexible tube should not be squeezed to fit a preferred carton width. Record reasonable product variation and confirm the sample can be packed without creasing decoration or stressing the seal.

Choose the intended orientation
A pump bottle may need upright orientation to present its label and closure. A tube may stand cap-down, cap-up or lie horizontally depending on the brief. Select one primary packing and opening direction before developing interior geometry.
Orientation affects artwork, flap sequence and customer access. If the product must face a window, retention must control rotation without damaging the flexible tube or pressing the actuator.
Use support only for a defined reason
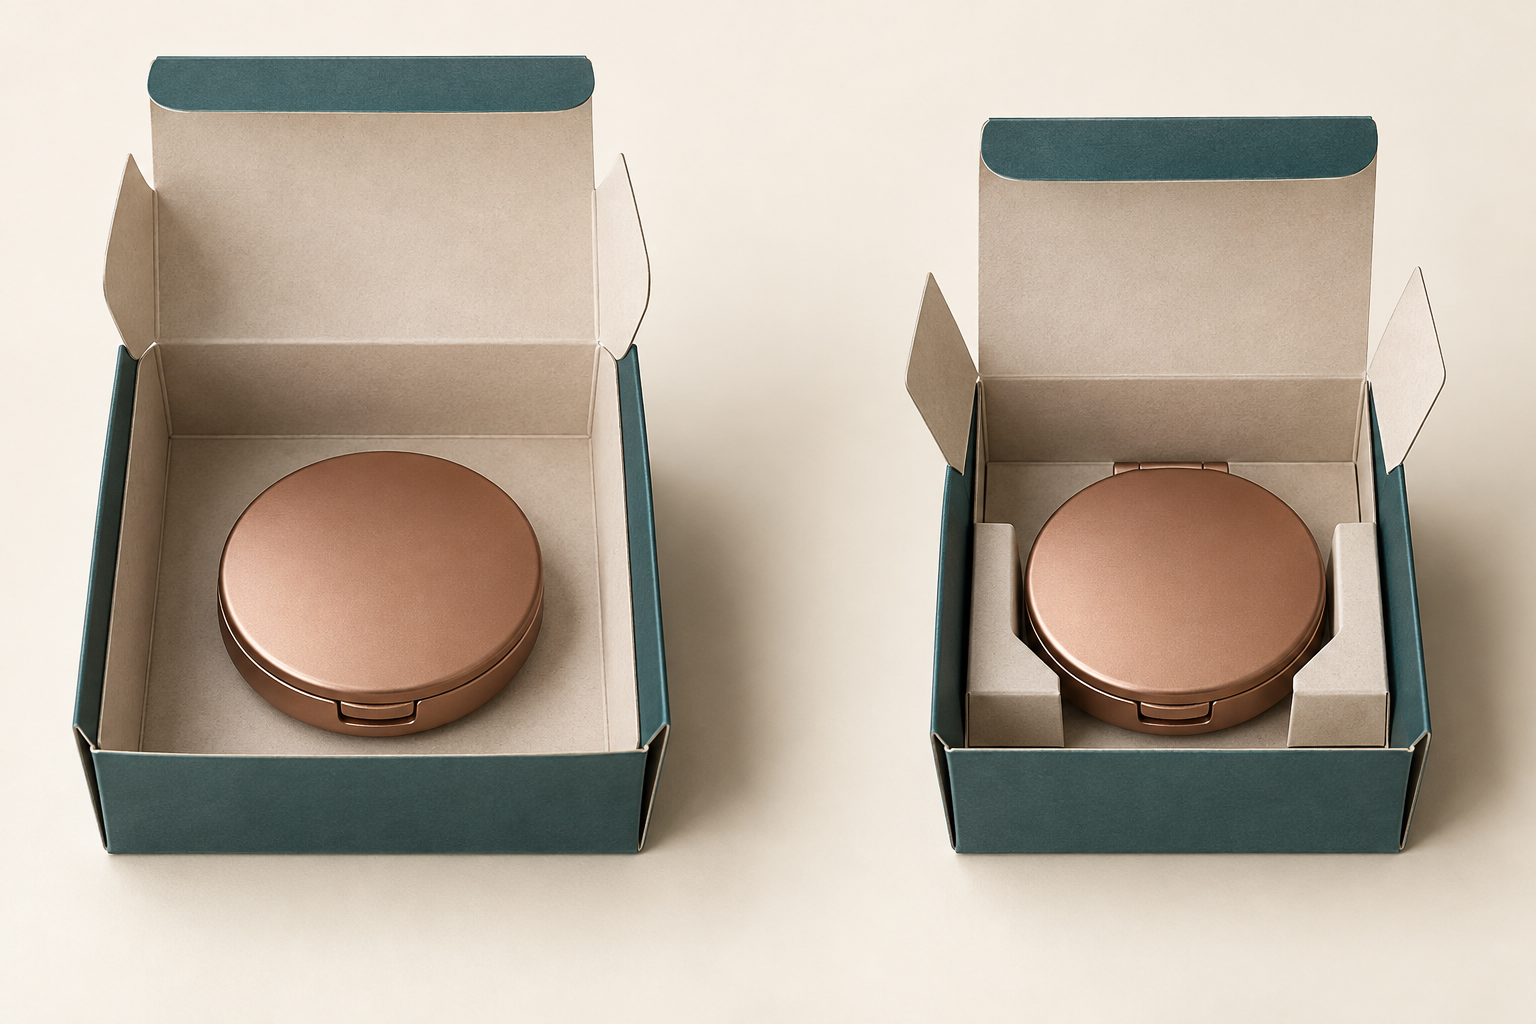
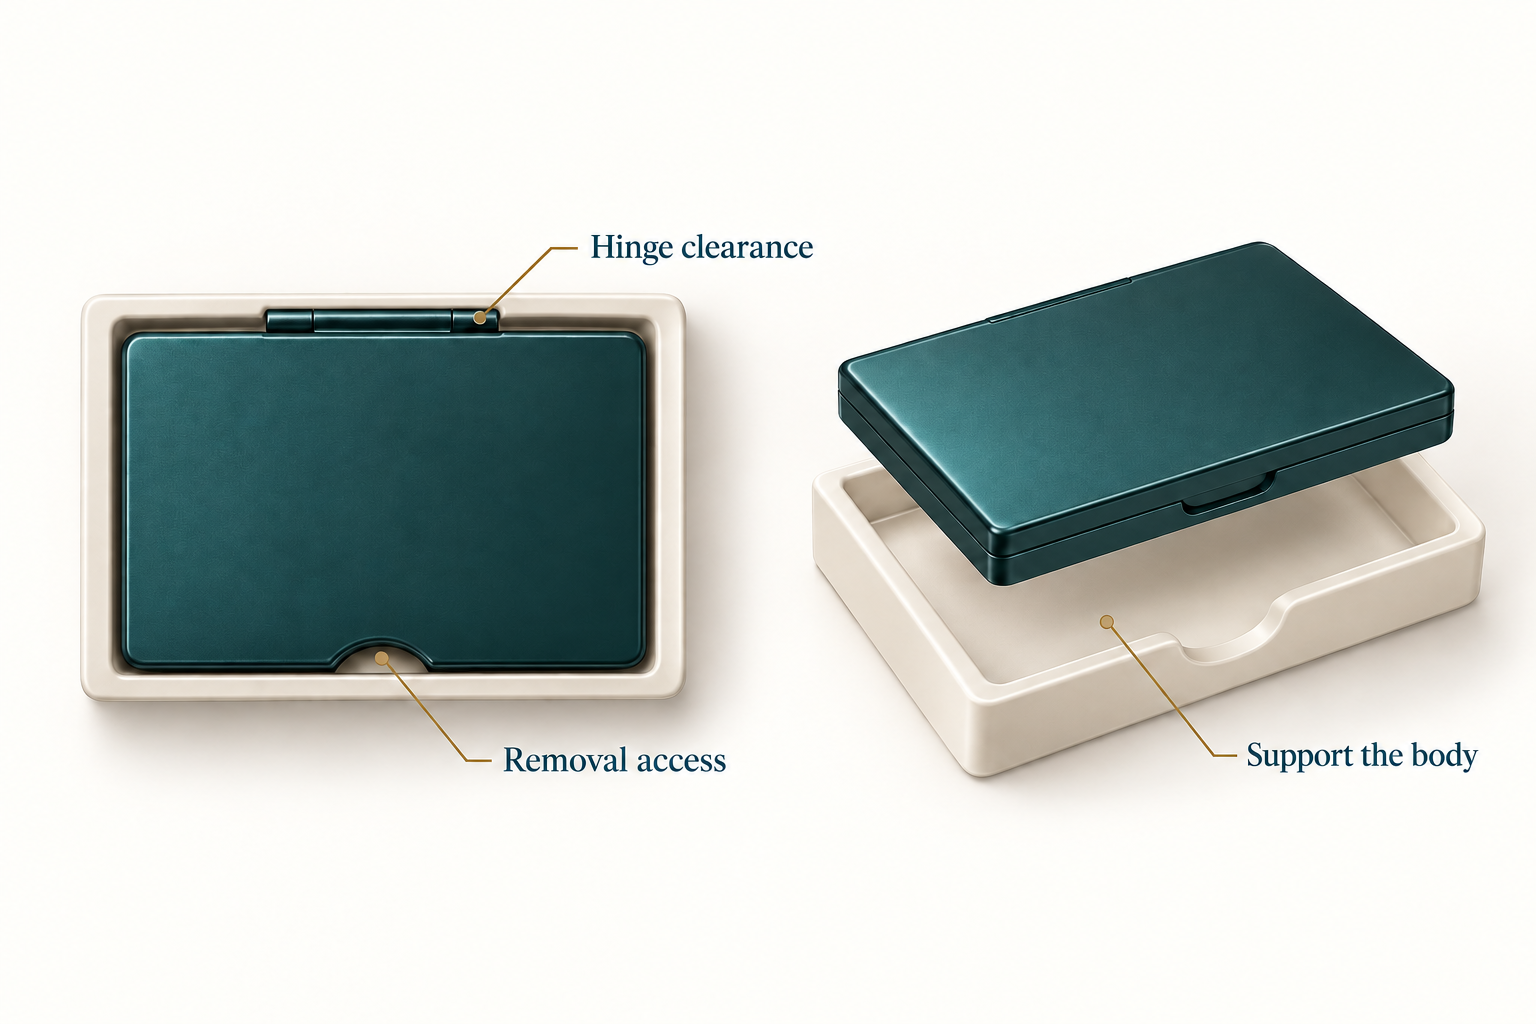
A proportioned tuck-end carton can be a valid starting candidate for either format. Compare localized support when a narrow bottle shifts beneath a wide pump, a tube must remain centered, multiple items require separation or a presentation window requires alignment.
Do not treat an insert as proof of protection. State whether it locates, separates or supports and review contact zones. A tight ring around a flexible tube can create visible deformation.
Review packing and removal
Load the product using the intended line sequence. Observe whether flaps scrape labels, catch crimps or disturb caps. Then ask an uninvolved reviewer to open the carton and grip the primary package by a suitable body area.
If a bottle can only be pulled by its pump, or a tube by its crimp, revise access. Confirm any support remains seated and the product can be returned only if reclosure is part of the brief.
Plan families without forcing one structure
A cleanser range may use a gel tube, foaming pump and travel bottle. Shared brand panels can create coherence, but each structure should follow its own geometry. Oversizing smaller formats to create a uniform height can increase movement and material.
Maintain a matrix linking each SKU, component revision, carton and artwork. Recheck promotional caps or bundle accessories.
Separate retail fit from distribution evidence
Define acceptable condition and examine the complete shipment configuration. ISTA’s test overview distinguishes early screening from simulations of distribution hazards. Select the method that answers the real question and document the actual product/package version.
Keep approved samples, dimensions, filled weights, board specification, pack-out photos and applicable test evidence. Review custom facial-cleanser box options and submit the actual bottle or tube details through the custom quote form.
Account for seals, leaflets and secondary components
A cleanser pack may include a tamper feature, carton leaflet, sample sachet, cleansing tool or promotional band. List every component and identify its final position. A missing leaflet can change the apparent fit; an accessory can migrate against a flexible tube or pump if it has no controlled location.
Confirm that opening the carton does not accidentally disturb the primary tamper feature. Secondary packaging should not conceal a damaged cap, loose pump or incomplete seal during packing inspection.
Review moisture and residue conditions honestly
Production-intent packs should arrive clean and dry, but the brief should address realistic filling and handling conditions. Do not assume a coating or laminate is required without evidence, and do not call paperboard waterproof. If the project expects humid bathrooms or potential exterior residue, define the scenario and evaluate the complete decorated structure accordingly.
Material and finish choices also affect printing, folding and disposal claims. Keep those decisions tied to approved specifications instead of broad terms such as “moisture proof” or “eco-friendly.”
Coordinate copy across bottle and tube formats
Bottle and tube cartons can share a brand system while using different panel proportions. Prioritize product name, use, net contents, required statements and opening cues on the final dielines. Do not scale a tall pump layout onto a shorter or wider tube carton if it compromises readability.
Verify barcodes and batch-marking areas at production size. When a cleanser exists in travel and full-size formats, keep identification unambiguous and connect every artwork file to the correct structure.
Approve tolerances through representative samples
Flexible tubes can vary with fill distribution, while rigid bottles can vary at labels, closures and molded dimensions. Ask suppliers for relevant specifications and observe representative units. Do not invent a universal allowance or approve a carton from the most convenient sample alone.
Record what range was actually reviewed. If a later tube feels fuller, a crimp changes or a pump collar widens, reopen the fit decision rather than forcing the product into the old carton.
Create a release packet for each format
The final packet should identify SKU, primary package, filled weight, carton, support, board, artwork, packing direction, sample photographs and applicable testing. Separate the bottle and tube records even when they share visual design.
State whether approval covers geometry, packability, user access, appearance or distribution performance. That prevents a successful visual mockup from being misrepresented as evidence for conditions it never experienced.
For first production, inspect both the earliest and later packed units rather than one carefully assembled example. Confirm that tube orientation remains consistent, pumps are not activated, flaps close without force and printed surfaces remain clean. Record any work instruction used to achieve the result.
If a packing adjustment is necessary, update the controlled instruction and assess whether it changes structure or evidence. Repeated hand manipulation should not become an undocumented substitute for a carton that fits the intended process.
Retain dated bottle and tube references separately. Shared artwork does not make their structural records interchangeable, and aged flexible samples may no longer represent production condition.
Facial-cleanser carton questions
How do bottles and tubes change carton dimensions?
Bottles are usually rigid with defined bases and closures; filled tubes can taper and flex. Measure each complete final unit.
Should a tube be measured empty?
No for final approval. Use a representative filled, sealed and capped tube because fill changes its profile.
Should a bottle pump be included?
Yes. Measure the approved locked or capped retail state without pressing the actuator.
Do cleanser cartons need inserts?
Not automatically. Add localized support only when it solves a documented orientation, movement, separation or presentation issue.
Can a tube and bottle share one box?
Only if both pass independent fit, loading, removal and performance review. Equal fill volume is not enough.
Which end of a tube should face down?
Follow the product and merchandising brief. Confirm cap stability, crimp clearance, artwork and opening sequence in that orientation.
Can a carton keep a flip-top closed?
Do not rely on unintended pressure. The primary closure must be suitable, and any secondary retention function needs explicit approval.
How is tube deformation avoided?
Measure the filled natural profile and avoid narrow contact that squeezes flexible panels or stresses seams.
Does a window require an insert?
It may require orientation control, but the solution depends on the actual product, window geometry and permitted contact zones.
What should be included in the brief?
Provide final filled samples, closures, dimensions, weights, orientation, decoration, quantity, window goals and distribution context.